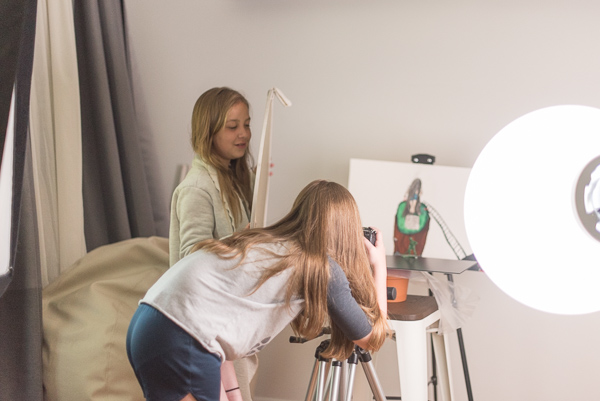
Kids Photo Class can be considered a success! Teaching photography might be in my future. I didn’t realize how fun it would be and how much I had to share. Each student in my very first Kids Photo Class was eager to learn!
After a little history lesson in photography and exploring what’s in my camera bag, we began Photo Class 1 with the three components to creating a good exposure. Each component needs to be understood individually before we can put them all together and use them to manipulate our images.
Kids Photo Class – Lesson 1
Our first lessons were in Aperture and how they can control the depth of field in your image. After creating their own backgrounds and finding some still subjects, each student created a scene and stepped behind the camera. Each student photographed their scene at f2.4, f5.6, f8, and f16 to get a better understanding of how their depth of field changes along with how much the aperture opens.
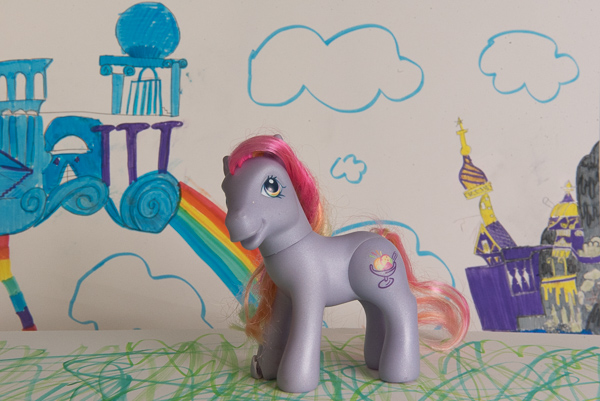
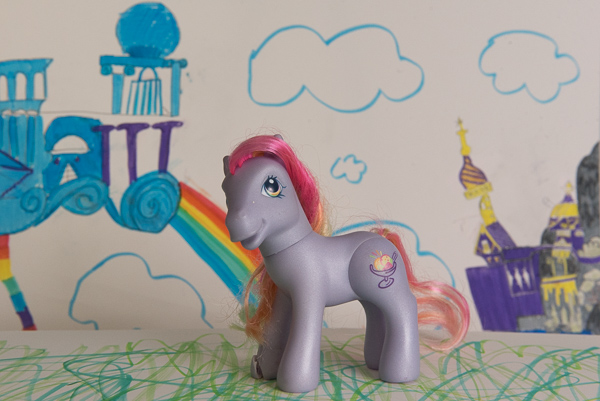
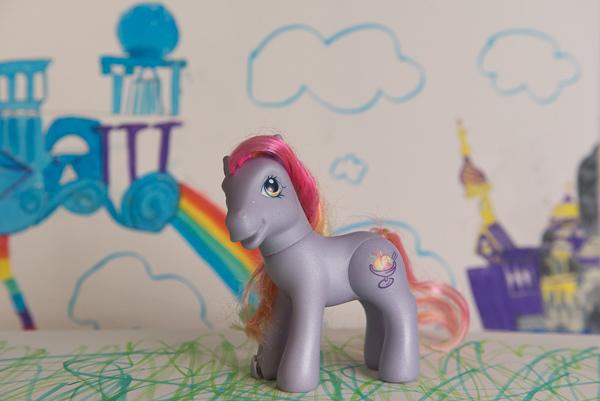
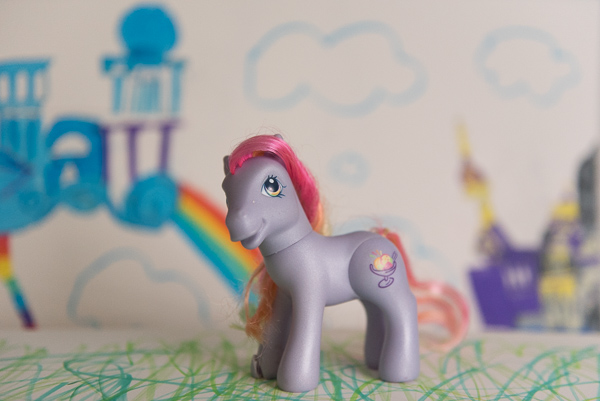
Depth of Field
We kept working on understanding aperture and depth of field. This time gathering 5 still subjects and placing them in a line, moving them each 3 inches back from the one next to it. Each student then photographed their main subject, the character on the left, from f32 to f2.4:
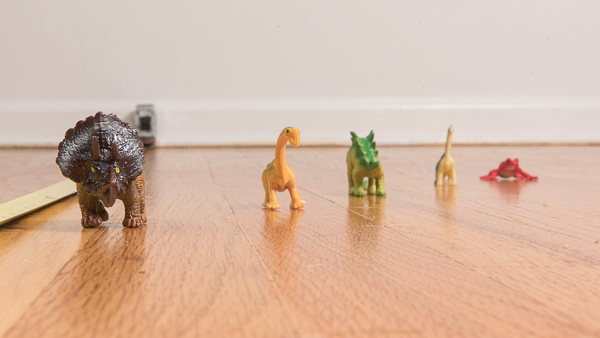
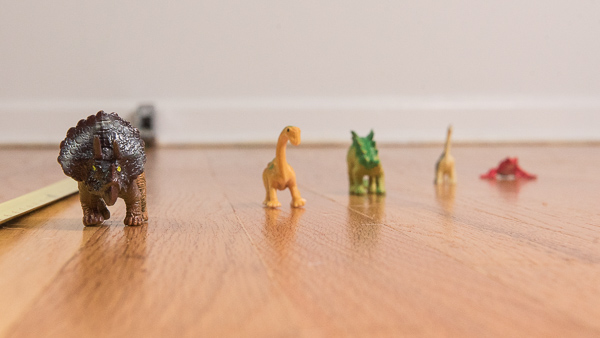
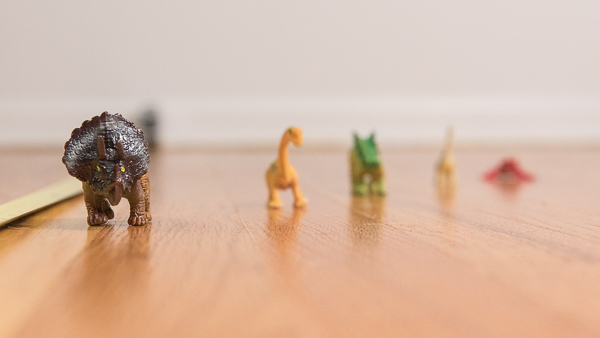
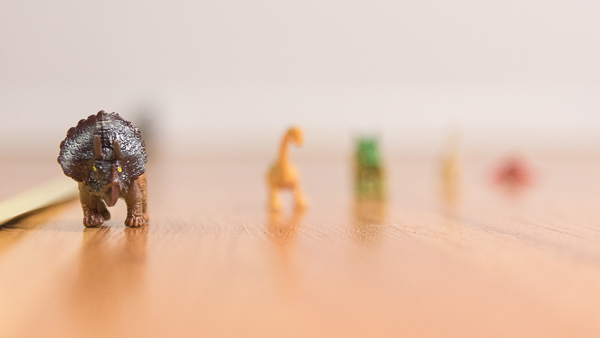
Each student was able to understand through these exercises that a higher f-stop means a smaller aperture. This in turn means that there is an increase in the depth of field and that you would use this when you want more of the subject and image in focus. They also understood that a lower f-stop means a bigger aperture and in turn means that they will have a shallow depth of field and less of the subject in focus.
Sign up for updates on the Youth Photo Contest & Photo Classes/Camps.
Keep Reading… Lesson 2 is here
[…] talk about Lesson 1: aperture in the last post. Lesson 2 was devoted to Shutter Speeds. To first demonstrate why shutter speeds are important to […]